Winter RV Battery Care: 5 Newbie Mistakes and Your Pre-Storage Checklist
Winter is the ultimate test for your RV batteries. While you're cozy indoors, your batteries are facing their biggest enemy: neglect. A single season of improper storage can slash the lifespan of your expensive deep-cycle batteries, leaving you with a dead power center come spring.
The good news? Preventing this is straightforward. This guide will walk you through the five most common mistakes new RV owners make with their batteries in winter and provide a simple, actionable checklist to ensure your power source survives the cold in peak condition.
Mistake #1: Storing Your Battery Fully Charged
Many believe a full charge is best for storage. Ironically, this is harmful.
- The Problem: Keeping a battery at a 100% state of charge for extended periods accelerates a process called grid corrosion inside the battery plates. This permanently reduces its capacity and lifespan.
- The Right Way: Before storage, charge your battery to a "storage voltage" or "ideal resting charge," typically between 50% and 80% of its full capacity. This is the most stable state for a battery to sit in.

Mistake #2: Assuming the "Master Switch" is Enough
Turning off the RV's main disconnect switch is good, but it's not a complete solution.
- The Problem: Parasitic loads—small, constant drains from your RV's clock, smoke detector, LP gas alarm, or pre-installed electronics—can still slowly deplete your battery over weeks or months. A deeply discharged battery can freeze and suffer irreversible damage (sulfation).
- The Right Way: For any storage longer than a few weeks, physically disconnect the battery cables. Start by disconnecting the negative terminal first. This is the only way to be absolutely sure all power drains are stopped.
Mistake #3: Leaving the Battery Exposed to the Cold
Batteries and freezing temperatures are a bad mix.
- The Problem: Cold temperatures increase a battery's internal resistance, making it harder to charge and discharge. More critically, a significantly discharged battery has a lower freezing point for its electrolyte (the water-acid solution inside), which can freeze, expand, and crack the battery case.
- The Right Way: If possible, store the battery in a cool, dry place like a garage or basement, where temperatures are more stable. If it must stay in the RV, consider insulating the battery compartment.
Mistake #4: The "Set It and Forget It" Mindset
Out of sight should not mean out of mind.
- The Problem: All batteries self-discharge over time. Leaving one unattended all winter guarantees it will discharge to a damaging level.
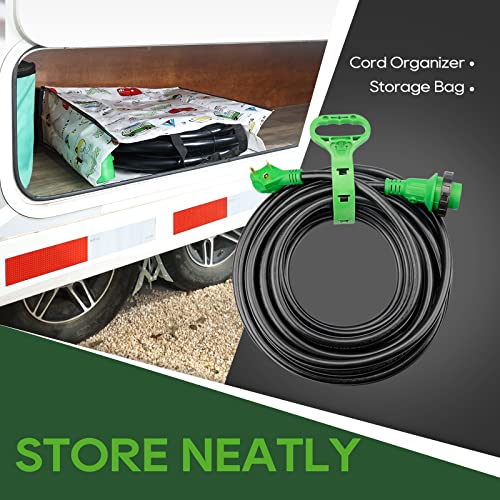
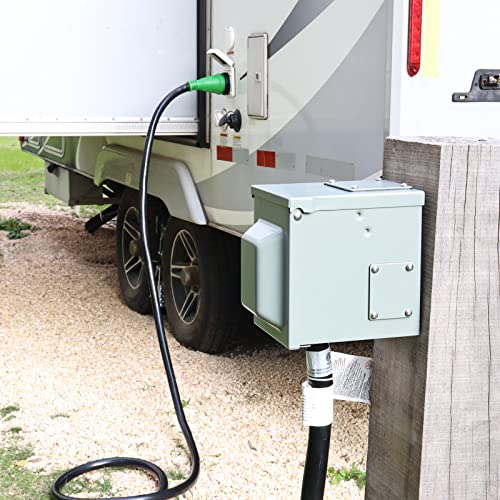
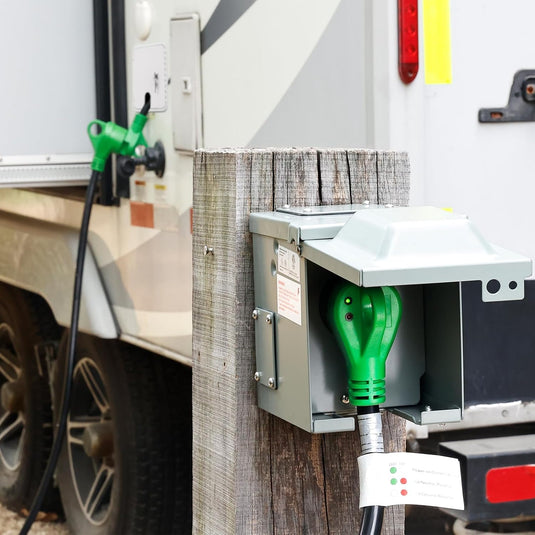
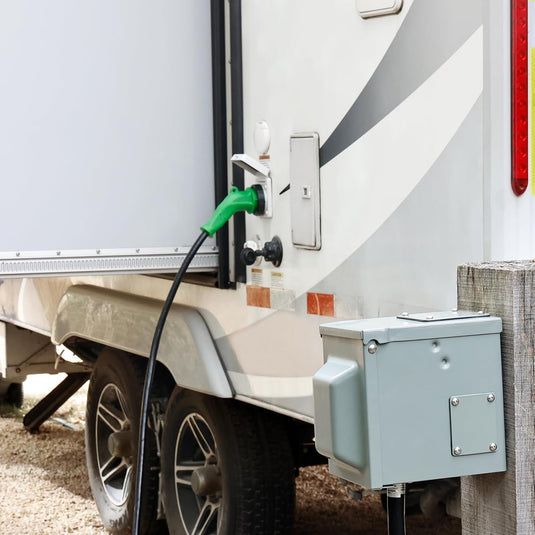
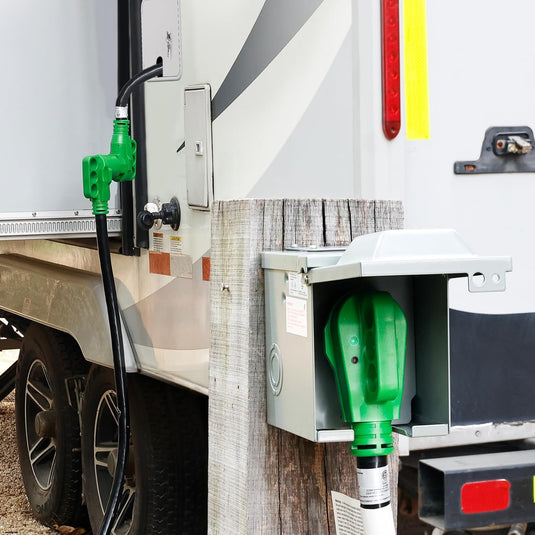
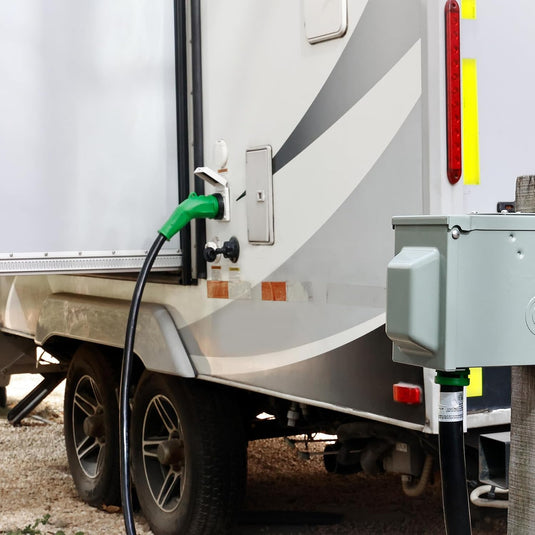
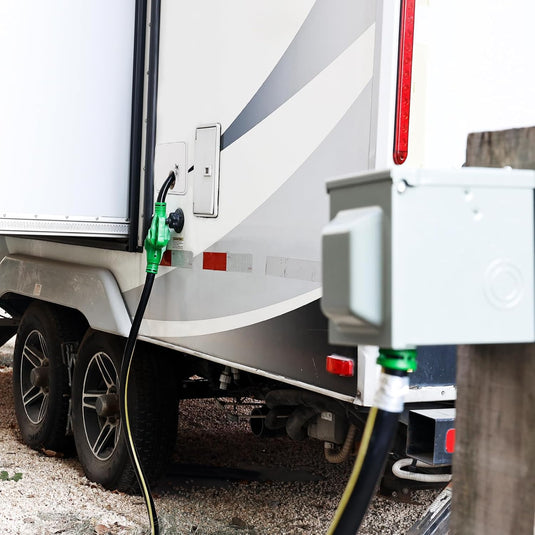
- The Right Way: The best practice is to connect the battery to a smart battery maintainer or trickle charger. This device monitors the battery's voltage and provides a small charge only when needed, keeping it perfectly at its storage voltage. This is where your RV power cord becomes critical.

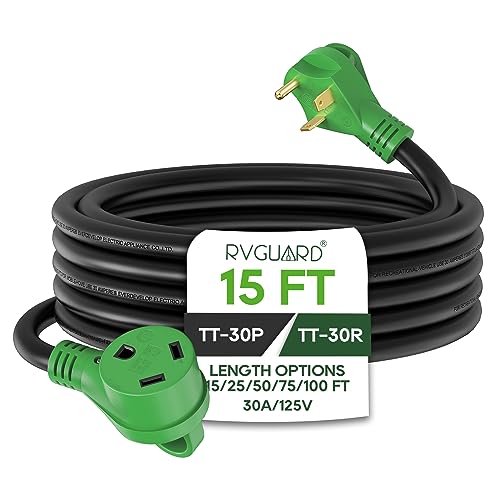
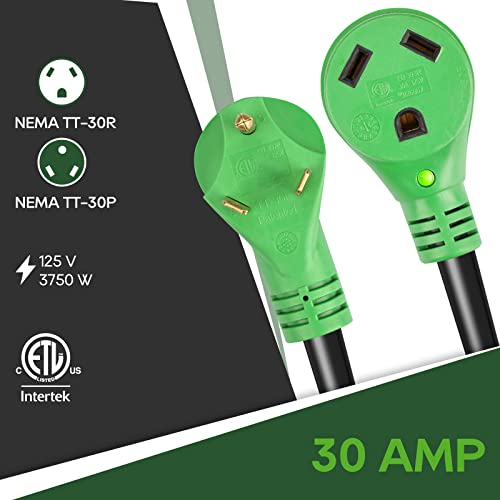
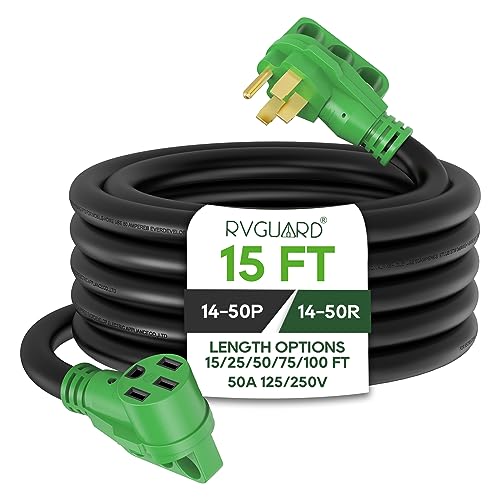
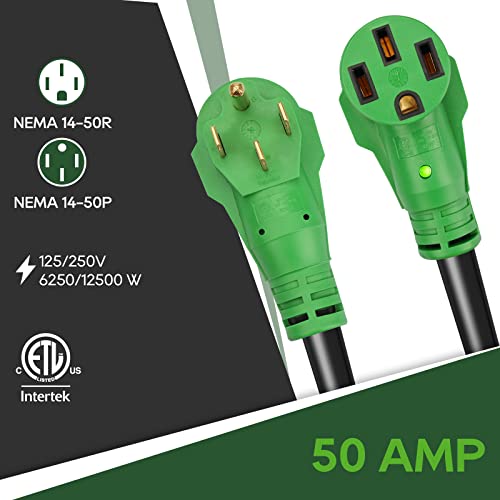
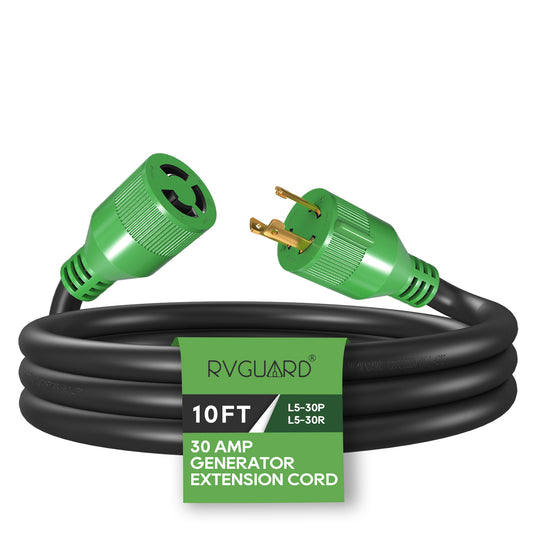
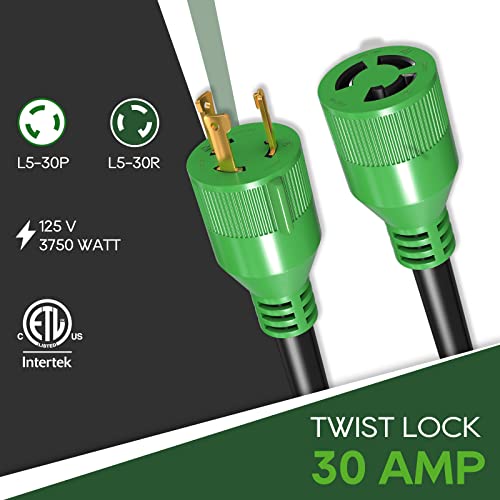
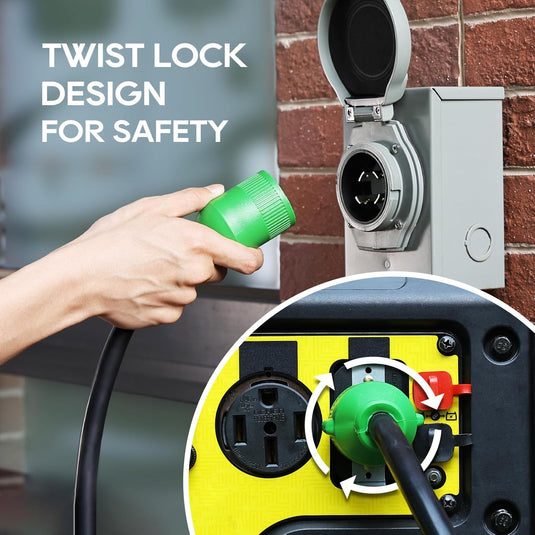
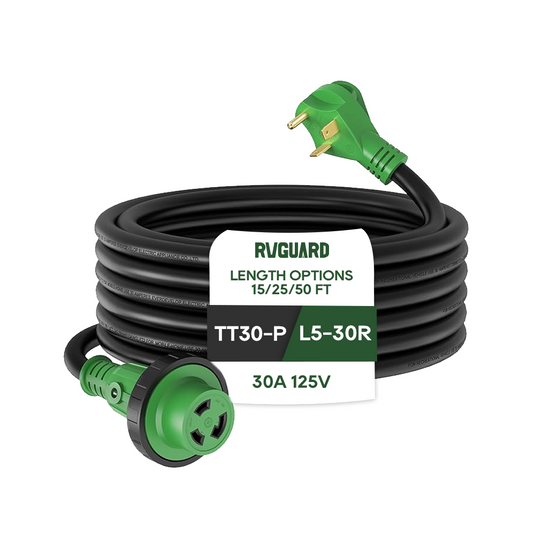
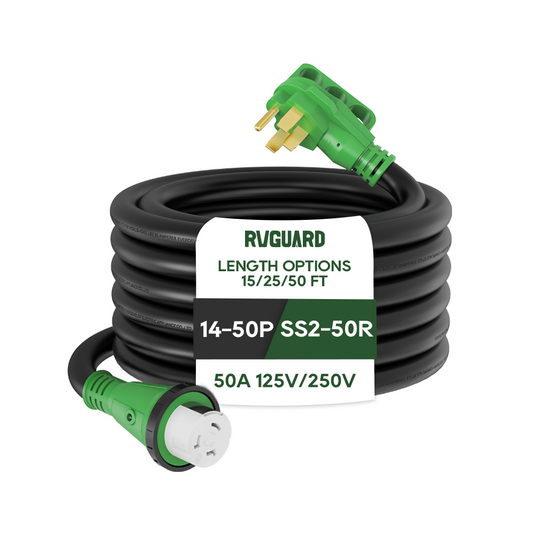
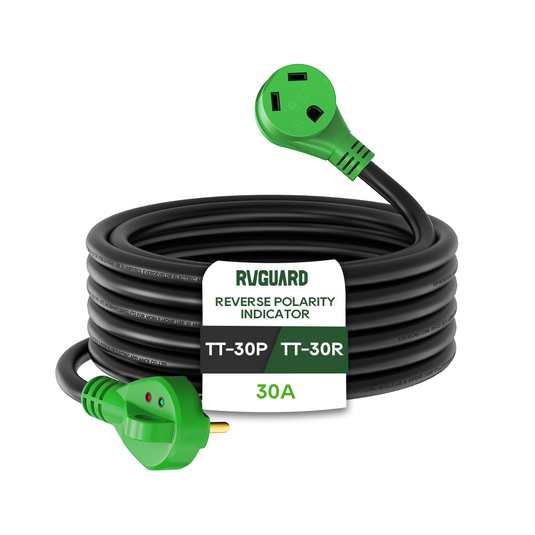
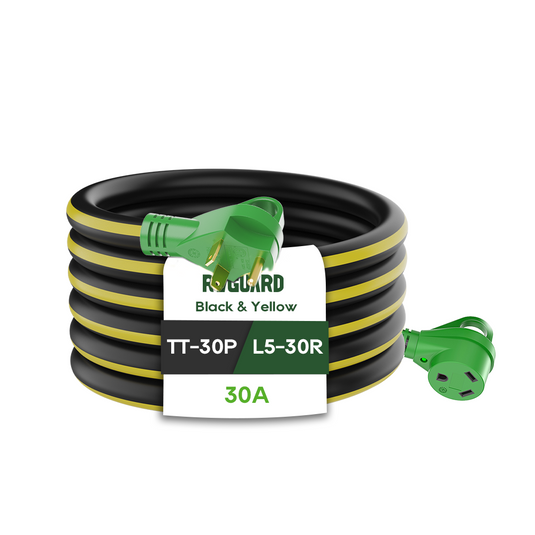
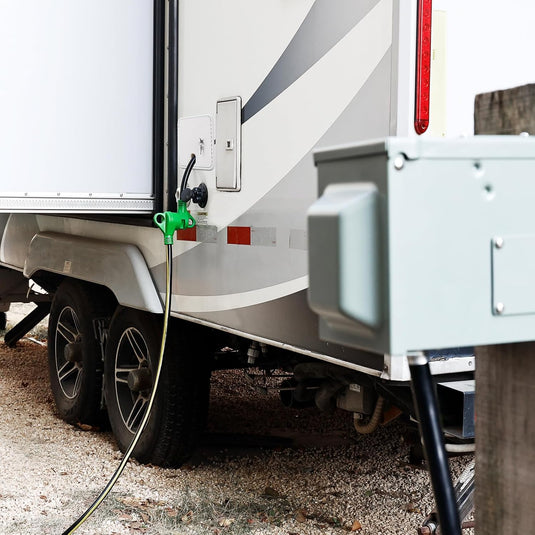
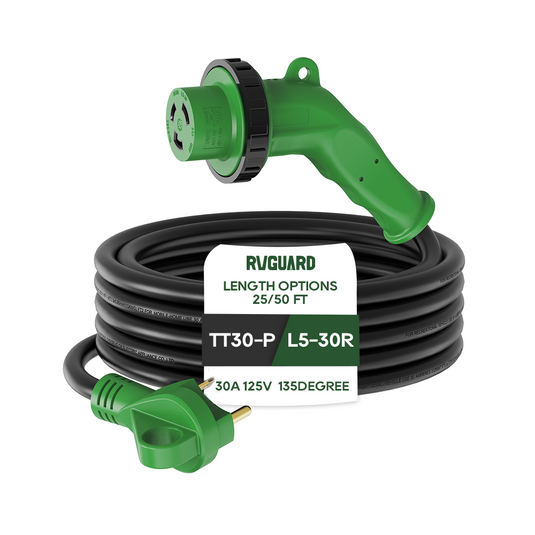
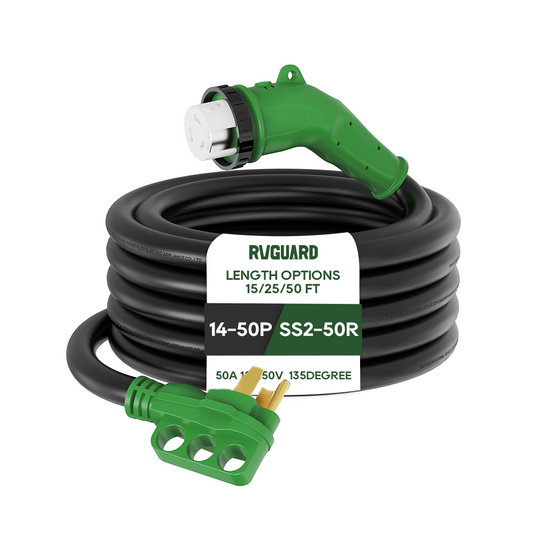
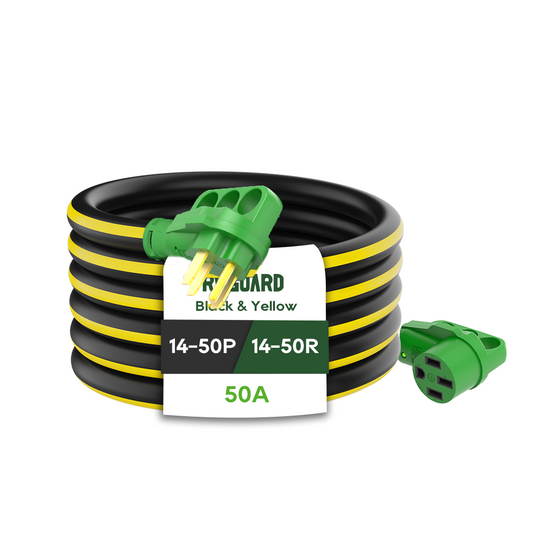
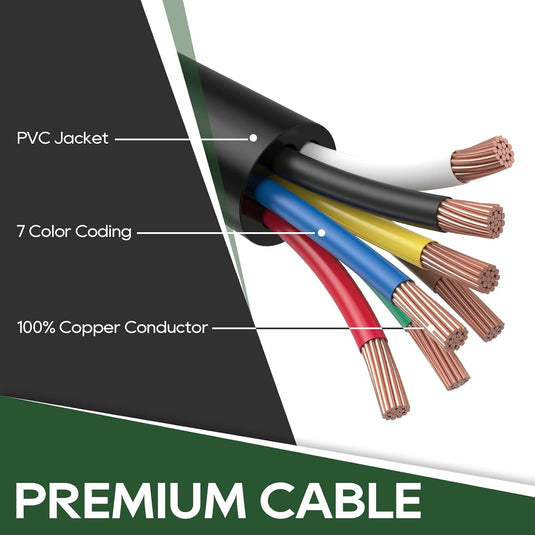
Expert Tip: To power a battery maintainer in a stored RV, you need a reliable connection to shore power. Using a high-quality, safety-certified 30 amp RV extension cord or 50 amp RV extension cord is essential. A poor-quality cord can cause voltage drop, preventing the maintainer from charging correctly. Look for a cord with thick enough wiring (like 10-gauge for 30-amp) and safety certifications to ensure your battery maintenance system works flawlessly all winter.
Mistake #5: Using a Fast Charge in the Spring
After a long nap, your battery needs to be woken up gently.
- The Problem: Slamming a "sleeping" battery with a high-amp fast charge right away can stress it and reduce its longevity.
- The Right Way: When you're ready to use the RV again, use a smart charger's "slow charge" or "absorption" mode if available. This gently brings the battery back to a full charge.
Your Ultimate Pre-Storage Battery Checklist
Print this list and check off each step for complete peace of mind.
- Charge to ~75%: Use a battery monitor to charge the battery to approximately 75% capacity (around 12.4-12.6 volts for a lead-acid battery).
- Clean & Disconnect: Clean the terminals with a baking soda solution, rinse, and dry. Physically disconnect the negative terminal first, then the positive.
- Choose Storage Location: Move the battery to a cool, dry, indoor location if possible.
-
Connect a Maintainer (Recommended): Connect your battery to a smart maintainer. To power it, use a reliable RV power cord.
- Pro Tip: Ensure your 30 amp or 50 amp RV extension cord is rated for outdoor use and is the appropriate length to avoid power loss. A quality cord is an investment in all your RV's electrical systems.
- Spring Wake-Up: In the spring, reconnect the terminals (positive first, then negative) and use a slow-charge setting to top it off.
By understanding these common pitfalls and following this simple checklist, you'll no longer have to wonder, "how long do RV batteries last?" You'll be taking proactive steps to maximize their lifespan, ensuring they're ready to power your adventures for years to come.
Explore Related Products