RV Screen Door Repair Guide: DIY Hacks vs. Smart Upgrades
Few things are more frustrating than a stubborn RV screen door that won't close properly. Whether it's a broken handle, a misaligned latch, or a grinding track that makes opening and closing a chore, these issues can quickly turn your relaxing getaway into a frustrating experience. In this comprehensive guide, we'll explore the most common RV screen door problems, compare temporary fixes with permanent solutions, and help you determine the best approach for your needs and budget.
Understanding the Most Common RV Screen Door Issues
1. Broken or Malfunctioning Handles
The RV screen door handle is one of the most frequently used and abused components of your entry system. Over time, constant use can lead to:
- Spring mechanism failure (causing the handle to stick or not return to position)
- Cracked or broken plastic (especially in cheaper OEM handles)
- Loose mounting screws (leading to wobbling and eventual failure)
Why it matters: A faulty handle isn't just inconvenient - it can compromise your RV's security and allow insects to enter when the door doesn't latch properly.
2. Latch Mechanism Problems
The camper screen door latch system is crucial for keeping your door securely closed while driving or in windy conditions. Common issues include:
- Misalignment (where the latch doesn't properly engage with the strike plate)
- Worn or broken springs in the latch mechanism
- Corrosion (especially in coastal or humid environments)
Safety concern: A malfunctioning screen door latch for travel trailer can suddenly release while driving, potentially causing damage or creating a safety hazard.
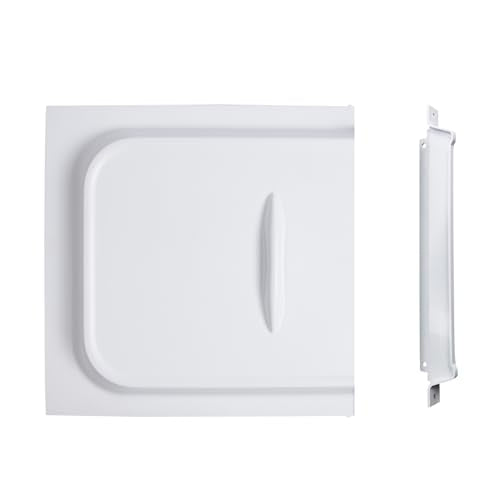
3. Track and Sliding Mechanism Issues
The sliding mechanism is what allows your screen door to operate smoothly. Problems here often manifest as:
- Difficult operation (requiring excessive force to open or close)
- Grinding or squeaking noises
- Visible wear on the track or rollers
Hidden danger: A sticking door can eventually damage the frame or surrounding components, leading to much more expensive repairs down the line.
Comprehensive Repair Options Compared
Temporary DIY Fixes ($0-$15)
These solutions can get you through a trip but aren't long-term solutions:
For Broken Handles
- Zip tie reinforcement: Temporarily secures a cracked handle
- Epoxy repair: Can bond broken plastic parts
- Rubber band spring substitute: Replaces a broken return spring
Pros: Nearly free, can be done with common items
Cons: Lasts days to weeks, may look unsightly
For Faulty Latches
- Cardboard shims: Adjusts latch alignment temporarily
- Rubber bumper additions: Helps door close more securely
- Lubrication: Can help sticky mechanisms temporarily
Pros: Immediate improvement
Cons: Doesn't address root causes, frequent reapplication needed
For Stuck Tracks
- Soap or wax lubrication: Provides temporary smoother operation
- Manual cleaning: Removes debris from tracks
- Temporary rail straightening: With careful use of pliers
Pros: Can restore some functionality
Cons: Messy, short-lived results
Factory Replacement Parts ($10-$40)
Replacing components with identical OEM parts:
Handle replacements
- Direct replacements for original equipment
- Typically same materials and design as failed part
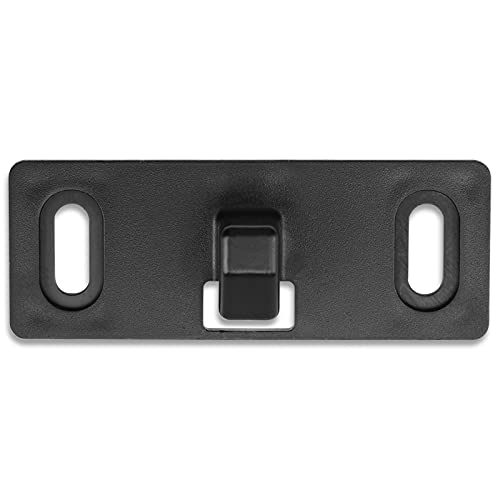
Latch mechanisms
- Complete latch assemblies
- Often include new strike plates
Track components
- Replacement rollers
- Track sections
Pros: Exact fit, familiar operation
Cons: Same weaknesses as original parts, may fail similarly
Upgrade Solutions ($15-$50)
These improved versions address common failure points:
Premium Handle Kits
The RV screen door handle upgrade options include:
- Heavy-duty ABS construction: More durable than standard plastic
- Reinforced spring mechanisms: Longer-lasting operation
- Weather-resistant coatings: Better performance in all conditions
Enhanced Latch Systems
Modern camper screen door latch improvements feature:
- Dual-spring designs: For more reliable operation
- Adjustable mechanisms: Easier alignment
- Corrosion-resistant materials: Especially important for coastal use
Advanced Track Solutions
The latest screen door slide technologies offer:
- Self-lubricating materials: For smoother operation
- Debris-resistant designs: Stay cleaner longer
- Reinforced construction: Withstands heavier use
Pros: Longer lifespan, better performance, often easier installation
Cons: Higher initial cost (but typically better value long-term)

When to Choose Each Approach
When DIY Makes Sense
- Emergency situations on the road
- Very tight budgets
- Temporary solutions while waiting for parts
- Minor issues that don't affect safety or security
When Factory Replacements Are Appropriate
- When maintaining original equipment appearance is important
- For very new RVs where wear isn't a factor yet
- If the failed part was damaged rather than worn out
When Upgrades Are Worth It
- For frequently used RVs (full-timers or heavy users)
- When security is a priority
- In harsh environments (coastal, extreme temperatures)
- For long-term cost savings (less frequent replacements)
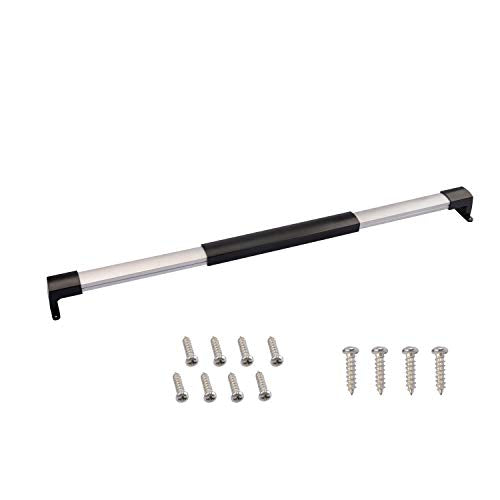
Step-by-Step Repair Guides
Replacing a Broken Handle
Tools needed: Screwdriver, new handle for RV screen door
- Remove old handle screws
- Carefully detach any remaining handle pieces
- Align new handle with mounting holes
- Secure with provided screws (consider using thread locker)
- Test operation before final tightening
Pro tip: Apply silicone lubricant to moving parts during installation for smoother operation.
Fixing a Faulty Latch
Tools needed: Screwdriver, new screen door latch for travel trailer
- Identify misalignment issues
- Remove old latch mechanism
- Install new latch according to manufacturer instructions
- Adjust strike plate position as needed
- Test with door in various positions
Safety check: Ensure latch securely holds door closed when testing.
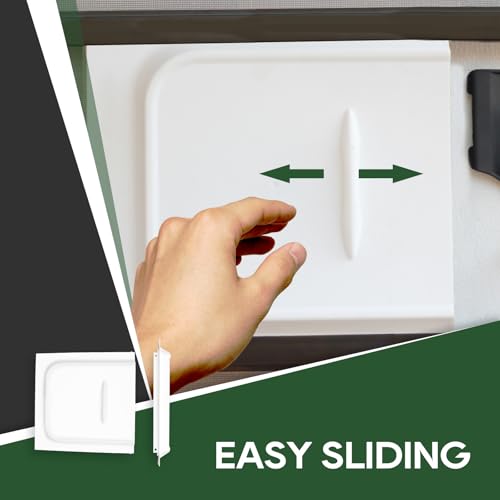
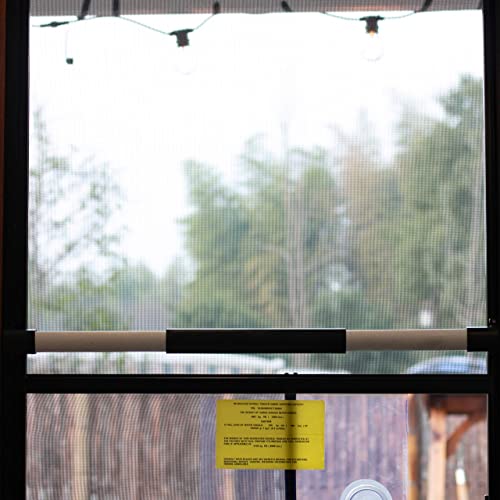
Improving Track Operation
Tools needed: Clean cloth, lubricant, screen door slide
- Clean track thoroughly
- Inspect for damage or warping
- Apply appropriate lubricant
- Install any track upgrades
- Test door operation
Maintenance tip: Clean and lubricate tracks seasonally for best performance.
Cost Analysis: Short-Term vs. Long-Term Thinking
The True Cost of DIY
While initially cheap, temporary fixes often lead to:
- More frequent repairs
- Potential collateral damage
- Lost time dealing with recurring issues
- Safety compromises
The Value of Quality Upgrades
Higher initial investment pays off through:
- Longer service life
- Better performance
- Reduced maintenance
- Improved safety and security
Case study: A $25 upgraded handle might last 5+ years, while $5 temporary fixes might need replacing 2-3 times per year ($50-$75 over same period).
Preventive Maintenance Tips
To extend the life of your RV screen door handle, latch, and track system:
- Monthly inspections for wear or looseness
- Seasonal lubrication of moving parts
- Gentle operation - avoid slamming
- Prompt repairs of minor issues before they worsen
- Weather protection during storage
Final Recommendations
Based on our analysis:
- For occasional users: Quality factory replacements may suffice
- For frequent travelers: Invest in upgraded components
- For all users: Avoid the cheapest temporary fixes for critical components
Remember - your RV's screen door is one of the most frequently used components. Investing in proper repairs and quality parts will pay dividends in convenience, safety, and long-term savings.