How to Installing Your RV Power Outlet Box: Height, Safety & Adapters
Welcome to the world of hassle-free RVing at home! Installing a dedicated RV power outlet is the single best upgrade for any RV owner. It transforms your driveway into a safe, reliable basecamp. This guide will walk you through the entire process, focusing on the critical choice of equipment, the optimal installation height, and the professional-grade safety features that matter most.
Why a Dedicated RV Outlet Box is a Game-Changer
Forget dangerous daisy chains of extension cords. A permanent RV outlet box provides:
- Safety: Eliminates fire hazards from under-rated cords and poor connections.
- Convenience: Plug in with the confidence of a full-power connection every time.
- Protection: Safeguards your RV's expensive electrical system from surges and faults.
- Versatility: Powers everything from a massive 50-amp fifth wheel to a compact travel trailer.
Step 1: Choosing the Right RV Power Outlet
Your first decision is selecting the right outlet for your needs. RVGUARD's professional-grade systems are engineered for two primary uses:
A. The RV Power Station (Multi-Configuration)
Ideal for the homeowner who wants ultimate flexibility.
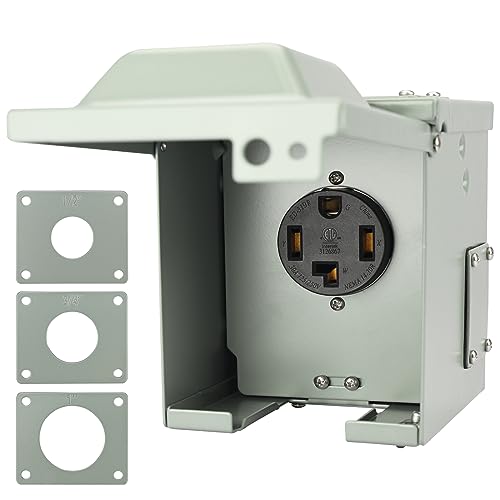
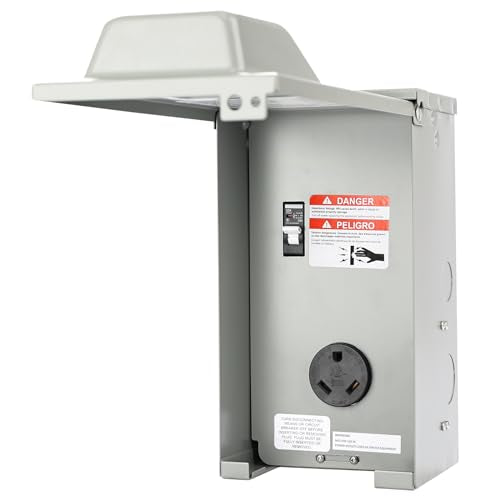
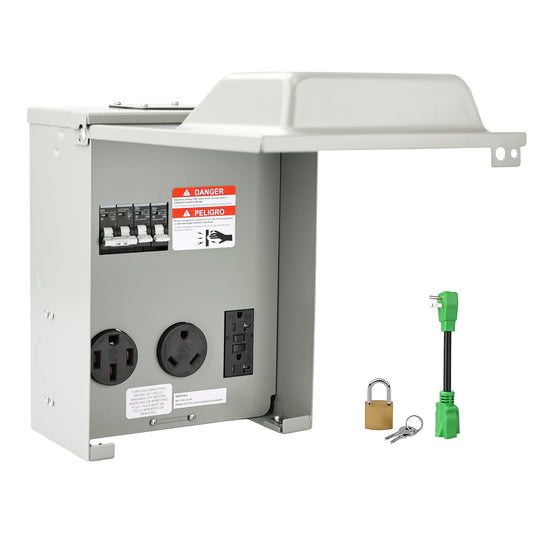
- Product Highlight: Our 3-Receptacle Panel combines a 50 amp RV outlet (14-50R), a 30 amp RV electrical outlet (TT-30R), and a 20A GFCI outlet in one weatherproof box.
- Best For: Powering any size RV, plus providing outlets for tools and outdoor appliances.
B. The Heavy-Duty Welder & RV Outlet
Designed for maximum power and durability in demanding environments.
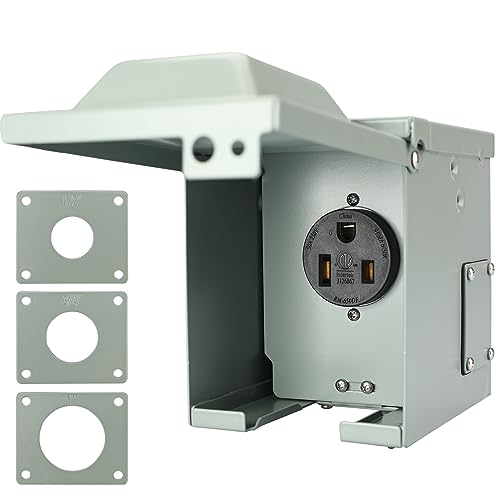
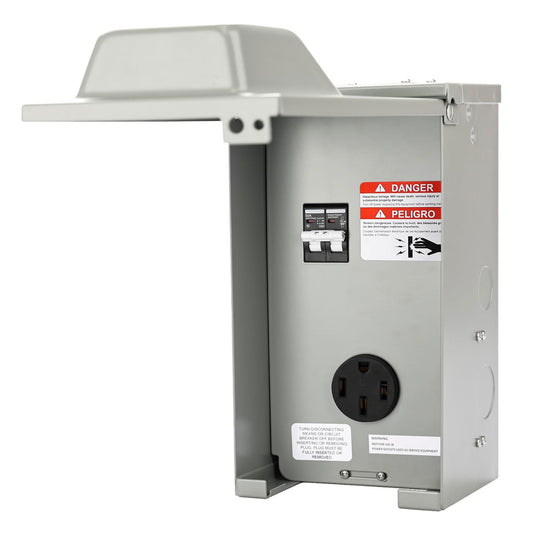
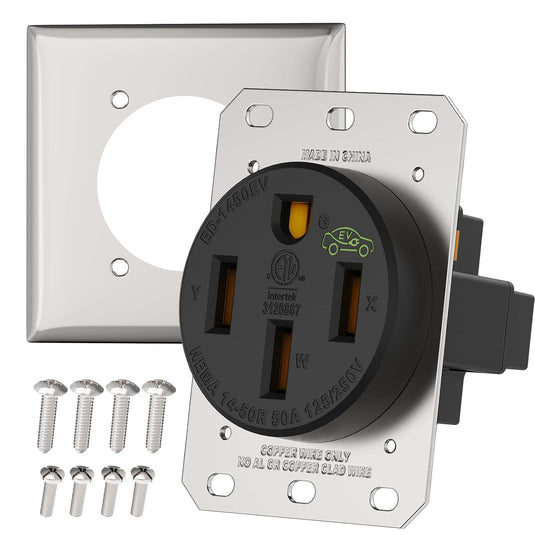
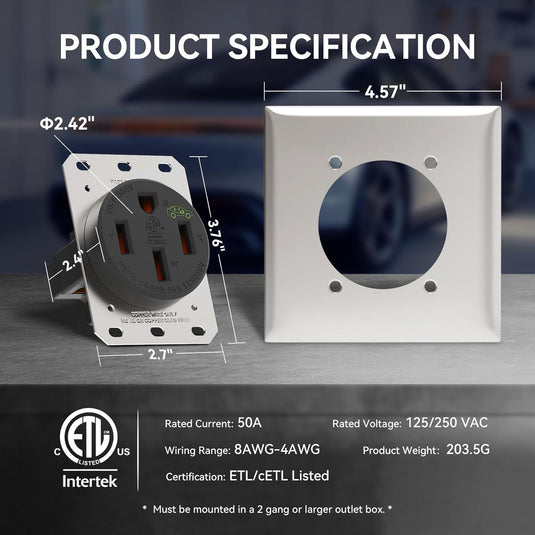
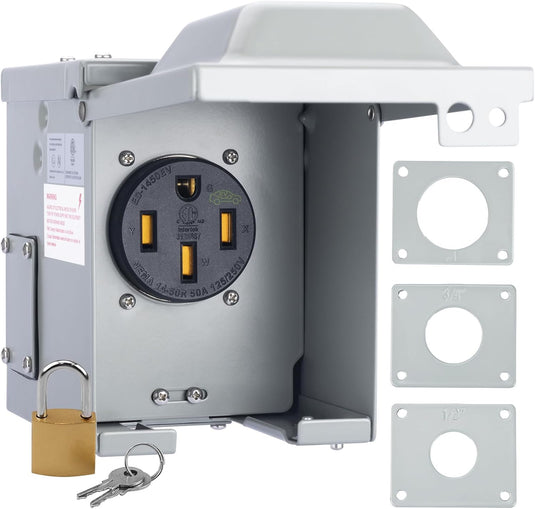
- Product Highlight: The EV/Welding Power Outlet Box features a commercial-grade 50-amp (6-50R or 14-50R) welder outlet.
- Best For: Large RVs, workshops, and powering high-amperage equipment like MIG/TIG welders.

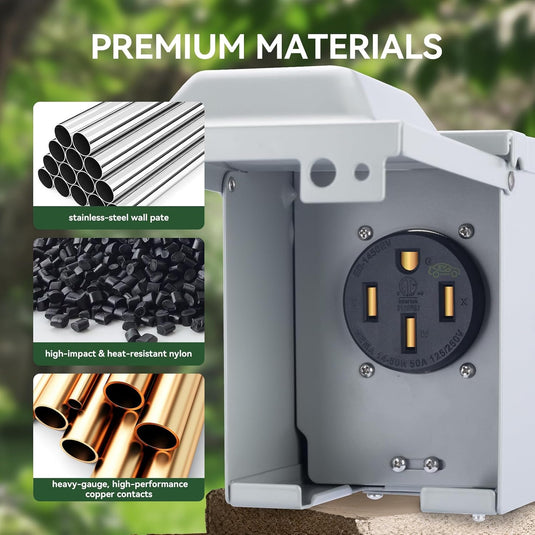
Core Safety & Compliance Features to Look For:
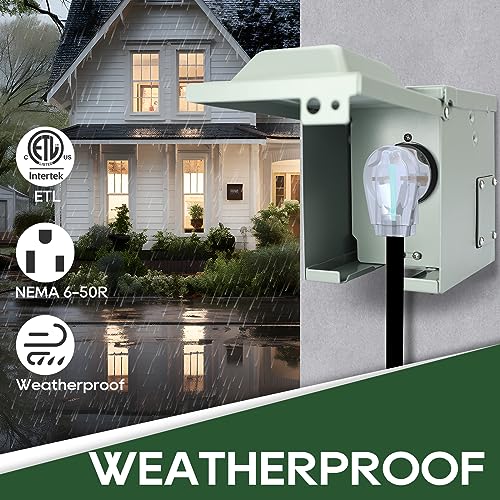
- Full ETL Certification: Ensures the entire assembly—not just the receptacles—is tested and safe.
- Precision-Matched Circuit Breakers: Built-in breakers are calibrated to prevent overload risks specific to RV and welder loads.
- All-Weather Housing: A Type 3R rating guarantees protection against rain and blowing dust.
- Rustproof Construction: Powder-coated steel resists corrosion far longer than standard boxes.
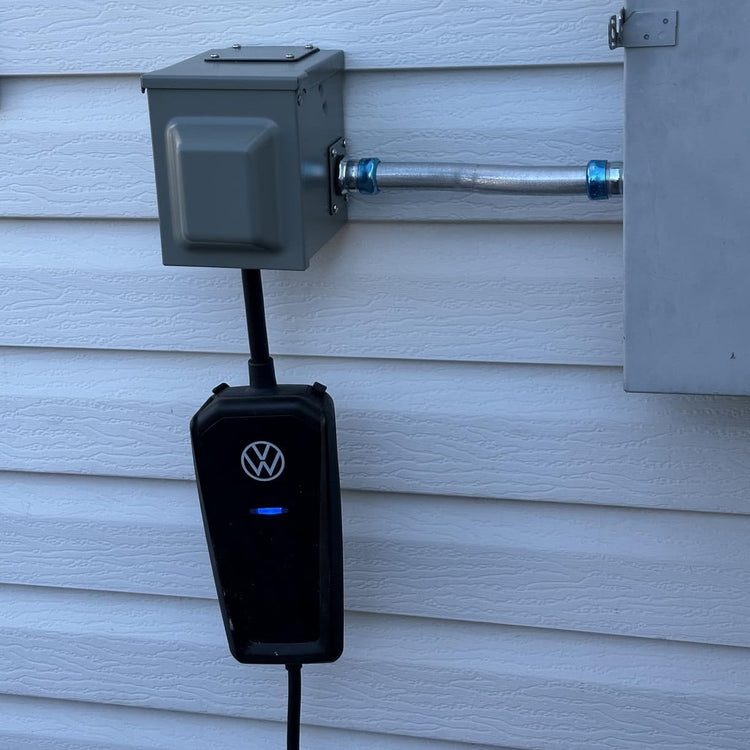
Step 2: Determining the Perfect Mounting Height
This is more important than you think. The right height ensures safety, durability, and ease of use.
The Golden Rule:
Mount the center of the RV outlet box approximately 48-54 inches (1.2 - 1.4 meters) from the ground.
Why This Height?
- Ergonomics: Allows for a comfortable plug-and-unplug motion without excessive bending or reaching.
- Cable Management: Enables the heavy power cable to loop naturally from the RV down to the outlet, eliminating sharp bends that damage the cord.
- Safety & Drainage: Keeps the connections well above potential puddles, dirt, and debris.
Pro Tip: Before drilling, use blue painter's tape to mark the intended location. Simulate plugging in your RV's cord to ensure the height feels natural.
Step 3: Professional Installation & Wiring
Warning: Working with high-amperage 240V circuits is dangerous. If you are not a certified electrician, hire one. This section is for informational purposes only.
A. Pre-Installation Checklist:
- Power Off: Shut off the main breaker and use a breaker lock to prevent accidental re-engagement.
- Check Local Codes: Always comply with National Electrical Code (NEC) and local regulations, which may require a permit.
- Gather Tools: You’ll need a voltage tester, wire strippers, screwdrivers, and conduit tools.
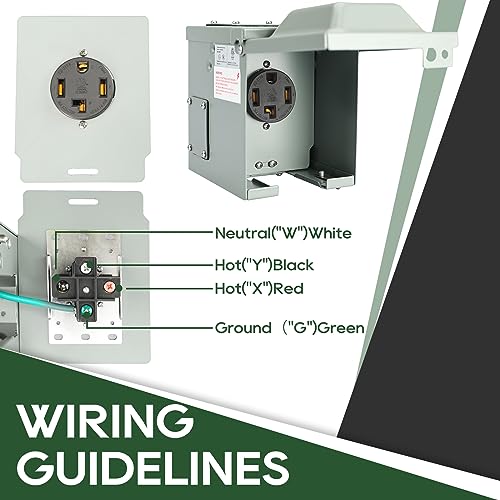
B. Wiring Specifications:
| Outlet Type | Breaker Size | Wire Gauge (Copper) | Conduat Size |
|---|---|---|---|
| 50 Amp | 50-Amp Double-Pole | #6 AWG | 1" |
| 30 Amp | 30-Amp Double-Pole | #10 AWG | 1/2" |
C. The Installation Advantage:
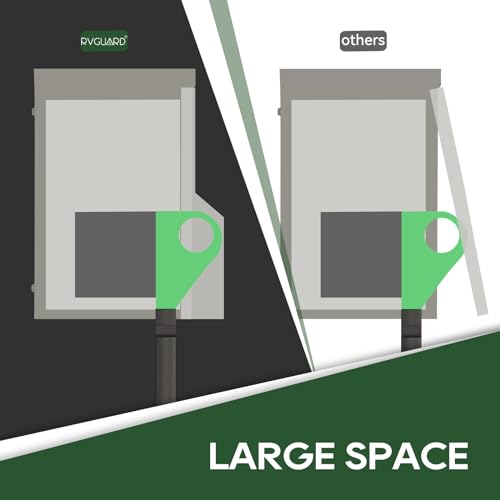
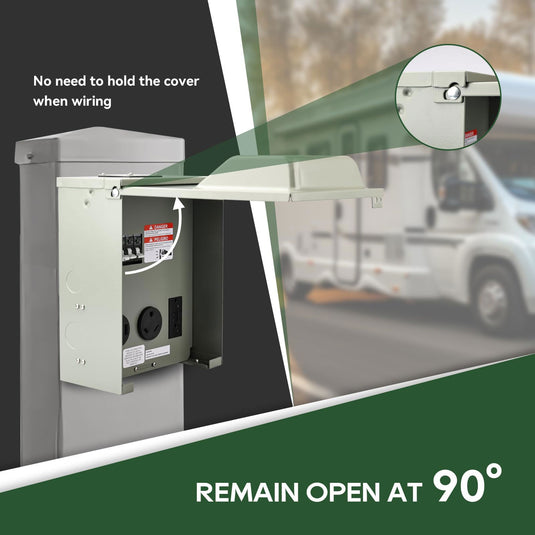
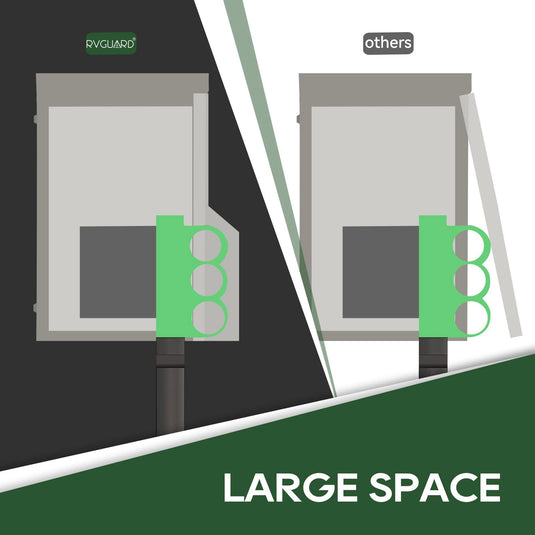
RVGUARD's pre-assembled kits save you hours. The 90° stay-open cover holds itself open during wiring, and the universal mounting options work for walls or posts.
A Quick Note on Adapters
Your RV's plug may not match your outlet. This is where a quality adapter, or "dogbone," is essential.
- Example: If you have a 50-amp outlet but a 30-amp RV, you need a 50-amp (Female) to 30-amp (Male) adapter.
- Pro Tip: Always choose an adapter with a robust, waterproof design and ensure its amperage rating matches your RV's needs. Connect the adapter to your RV cord before plugging into the outlet.
Conclusion: Power Your Adventures Safely
Installing a dedicated RV electrical outlet is an investment in convenience, safety, and the longevity of your RV. By choosing a professional-grade, ETL-certified product from RVGUARD, installing it at the correct height, and following safe wiring practices, you can enjoy countless trips with the peace of mind that comes from a perfect home base.
Ready to Build Your Home Base?
Explore our full range of professional RV outlet boxes and find the perfect power solution for your setup.
Explore Related Products